Laser Engrave and Cut in One Job: Preparing SVG and DXF for LightBurn
Prepare an SVG or DXF for engraving and cutting in LightBurn: separate engrave and cut layers, layer order, kerf compensation and test cuts.
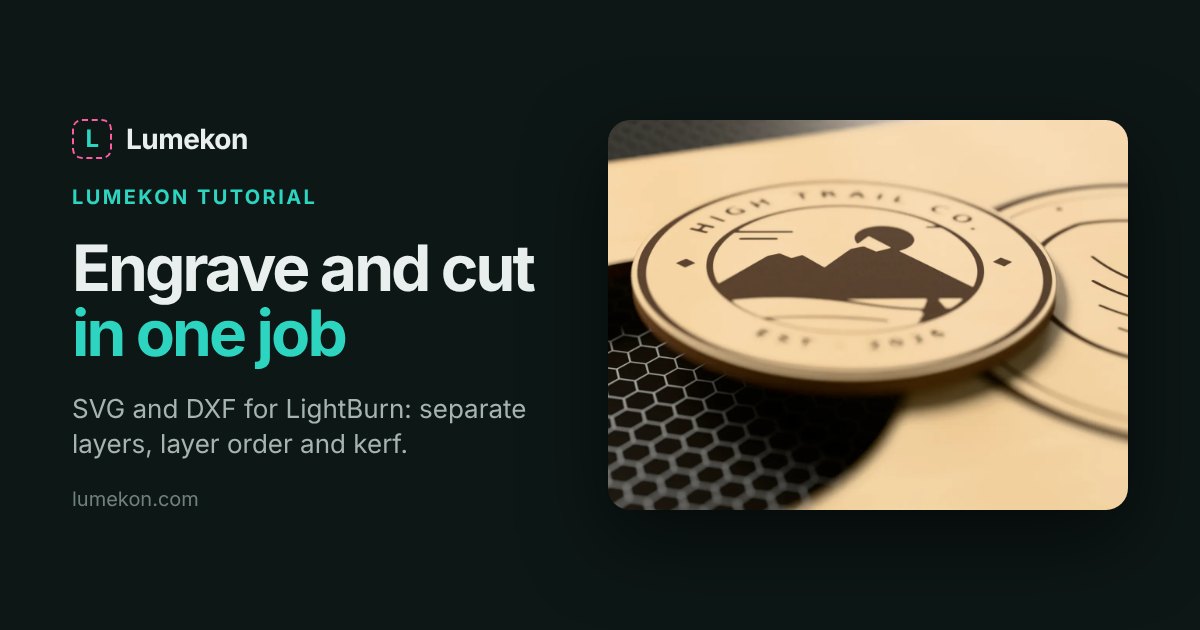
A laser can do two very different jobs on the same piece: engrave the design into the surface and cut the shape out. Most failed laser jobs come from mixing those two up in the file: an outline that engraves instead of cutting, fills that take an hour, or a part that falls out before the engraving is finished. This guide shows how to prepare an SVG or DXF that LightBurn reads correctly the first time.
Engrave lines and cut lines are separate layers
LightBurn decides what to do with a shape by its colour. Each colour in the file maps to a layer in the Cuts/Layers window, and each layer has a mode:
- Line: the laser follows the path. Use it for cuts and for line engraving (scoring).
- Fill: the laser scans back and forth inside closed shapes, like a printer. Use it for solid engraved areas.
- Offset Fill: fills by following the outline inwards. Faster on some shapes.
- Image: for photos and raster art, not vectors.
So a good laser file has the engraving in one or more colours and the cut outline in its own colour, with nothing else. If the cut outline shares a colour with the engraving, you cannot give it different power and speed.
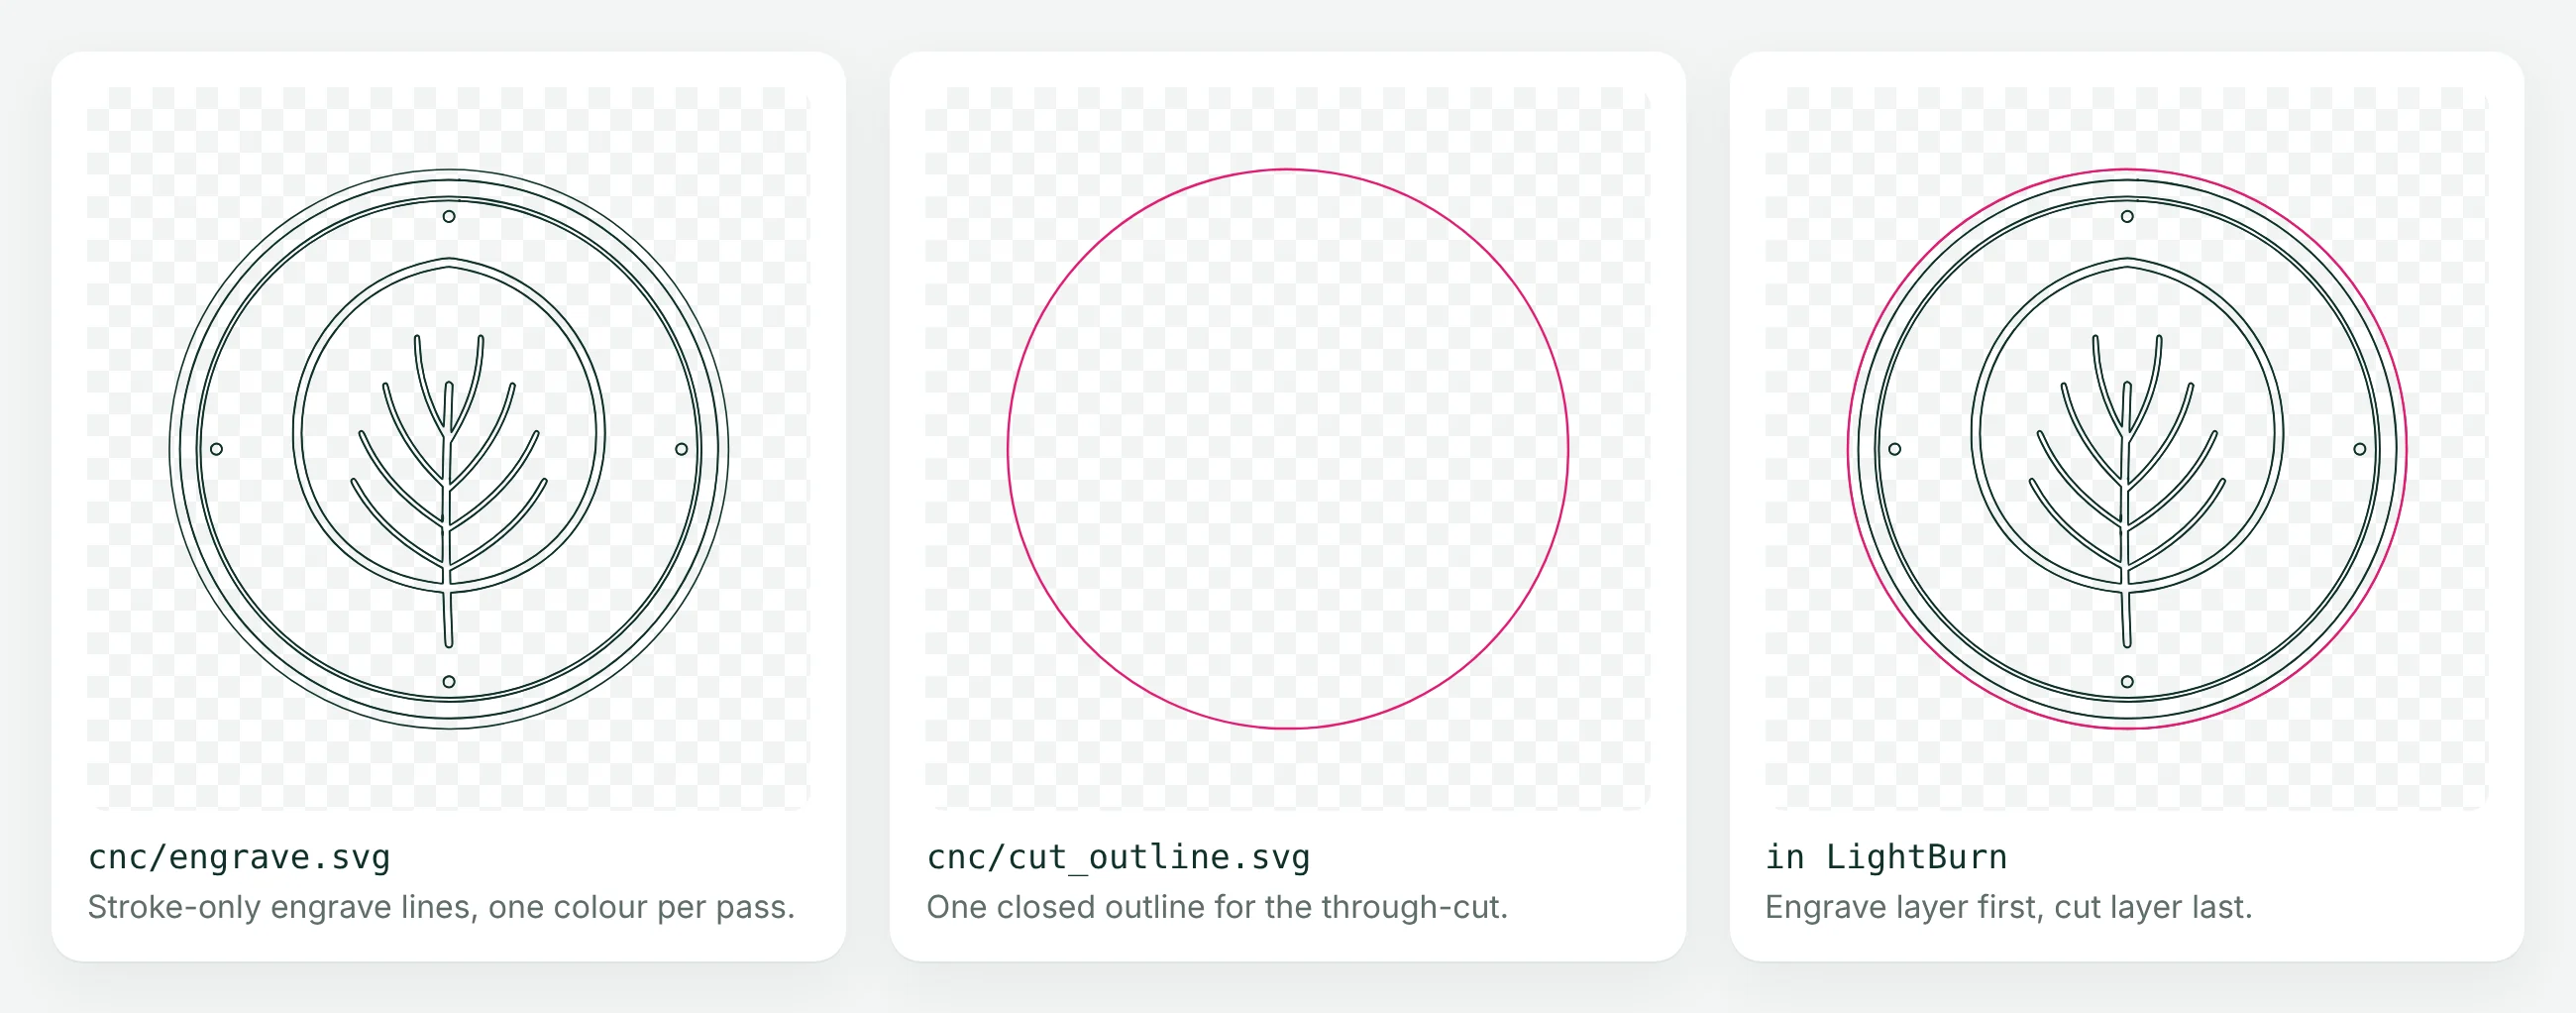
Step 1: Convert the image in CNC / Laser mode
Upload the image to the converter and switch the job to CNC / Laser. This mode outputs strokes instead of filled shapes and removes the overlaps between colours that are fine for stickers but make a laser pass over the same line twice. The options worth knowing:
- Export cut outline: adds a separate file with only the outer contour. That is your cut layer.
- Kerf (mm): compensates for the width of the beam on the outline (more on that below).
- Optimize path order: reorders paths to reduce travel between them, which shortens the job.
- Engrave all layer boundaries: engraves every edge between colours, not just the outer edges of each shape.
Download engrave.svg and cut_outline.svg, or the DXF versions if your workflow prefers DXF. Both use the same coordinates, so they line up when imported together.
Step 2: Import into LightBurn
- Import
engrave.svg, thencut_outline.svg. Check they did not shift: both should be centred on the same point. - Select the outline and click a new colour in the colour palette at the bottom. It now has its own layer.
- In Cuts/Layers, set the engrave layer to Line (or Fill for solid areas) with engraving power and speed, and the outline layer to Line with your cutting settings.
- Drag the layers so the engrave layer is above the cut layer. LightBurn runs layers in the order of the list. If the cut runs first, the part can drop or shift before the engraving is done.
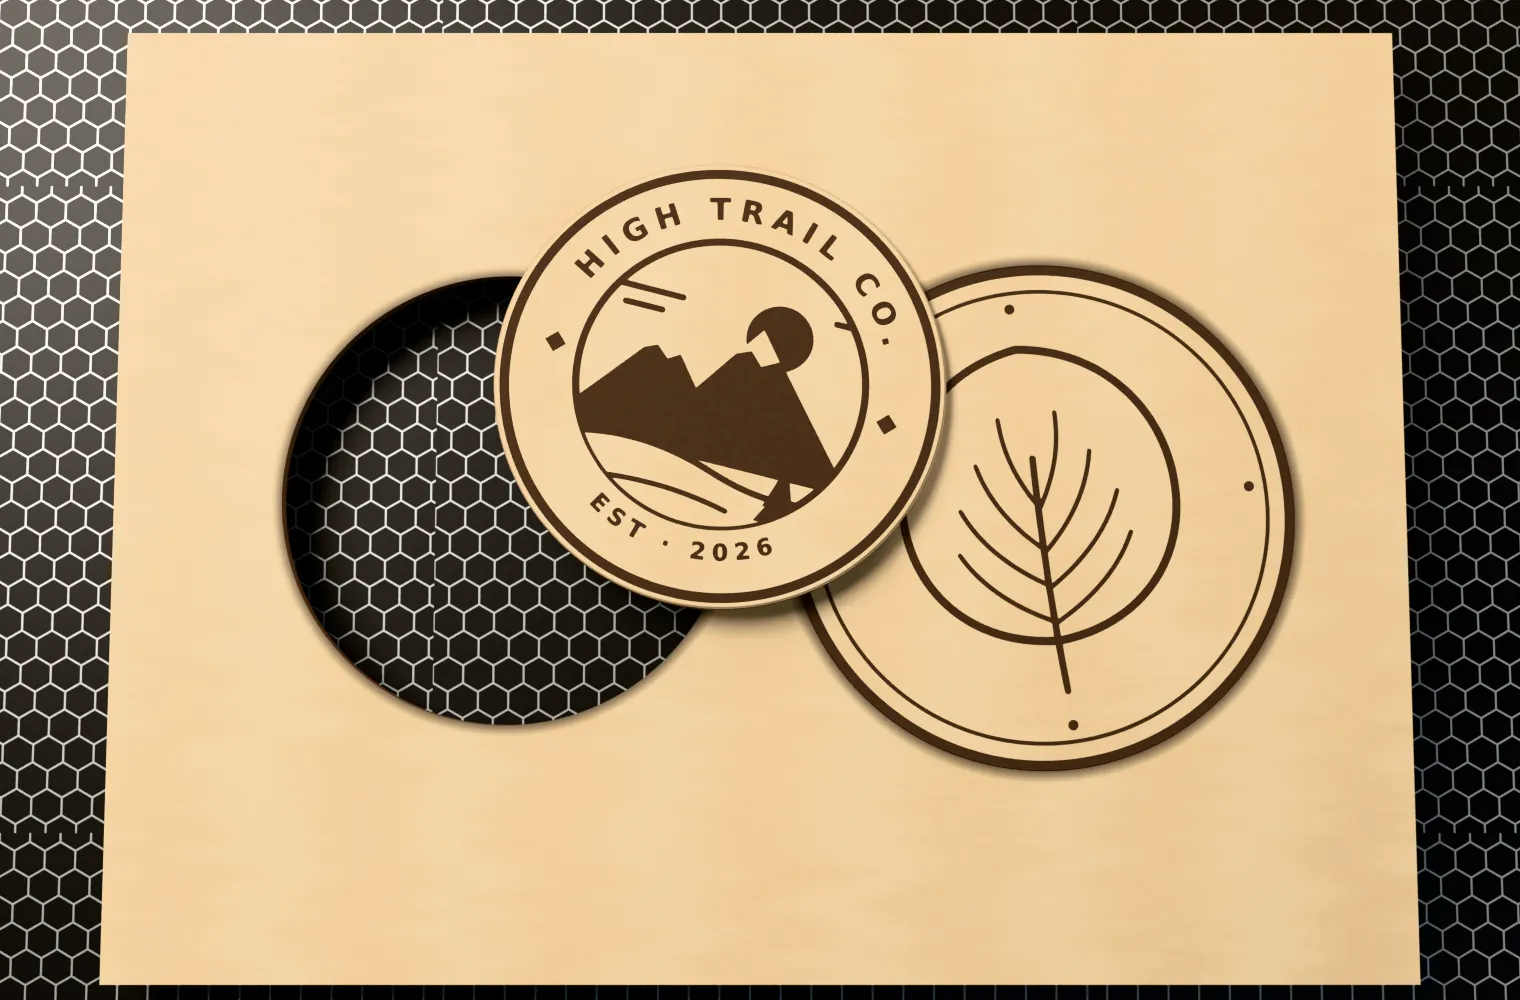
Step 3: Kerf compensation
The beam burns away a strip of material, the kerf, typically 0.05–0.2 mm wide depending on the laser, lens and material. On a cut line, half of it comes off the part. For coasters it does not matter; for inlays, puzzle pieces and press-fit joints it does.
You can compensate in two places:
- In the file: set Kerf (mm) in Lumekon before export. The outline is offset outwards so the finished part comes out at the intended size.
- In LightBurn: in the Cut Settings Editor of a Line layer, set Kerf Offset. A positive value moves the cut outwards; inner holes are handled automatically.
Use one or the other, not both, or you will compensate twice. To measure your kerf, cut a 20 mm square with kerf compensation off and measure the piece with calipers: the kerf is roughly 20 mm minus what you measure. LightBurn's documentation also describes a more precise vernier-style test.
Step 4: Test, then run
Run a small test on scrap of the same material: a 20 mm square with a line of engraving inside. Check that the engraving depth looks right and that the square drops out cleanly. If it does not, increase power or reduce speed on the cut layer only, or add a second pass.
SVG or DXF?
LightBurn reads both. SVG keeps colours, so layers come in already assigned. DXF is the safer choice if the file also goes to a CNC router or CAD program, and Lumekon's DXF puts each colour on its own named layer. Watch the units: an SVG exported at the wrong DPI or a DXF in inches read as millimetres comes in at the wrong size. Measure one known dimension after import.
Common problems
- The outline engraves instead of cutting: it is on the engraving colour. Move it to its own layer.
- Fill mode does nothing: fill needs closed shapes. Open paths are skipped. Check the file in the SVG validator or read what an open path is.
- The laser traces the same line twice: overlapping shapes from a sticker-style export. Use CNC / Laser mode, which removes the overlaps.
- Long jobs with lots of travel: turn on path optimisation, either in Lumekon or in LightBurn's Optimization Settings.
For vinyl instead of wood, the same image can be split into colour layers: see the layered vinyl decal guide.