Layered Vinyl Decals: How to Split a Design into Colour Layers
Separate an image into vinyl colour layers that line up: which colours to keep, how much the layers should overlap, and the hinge method for applying them.
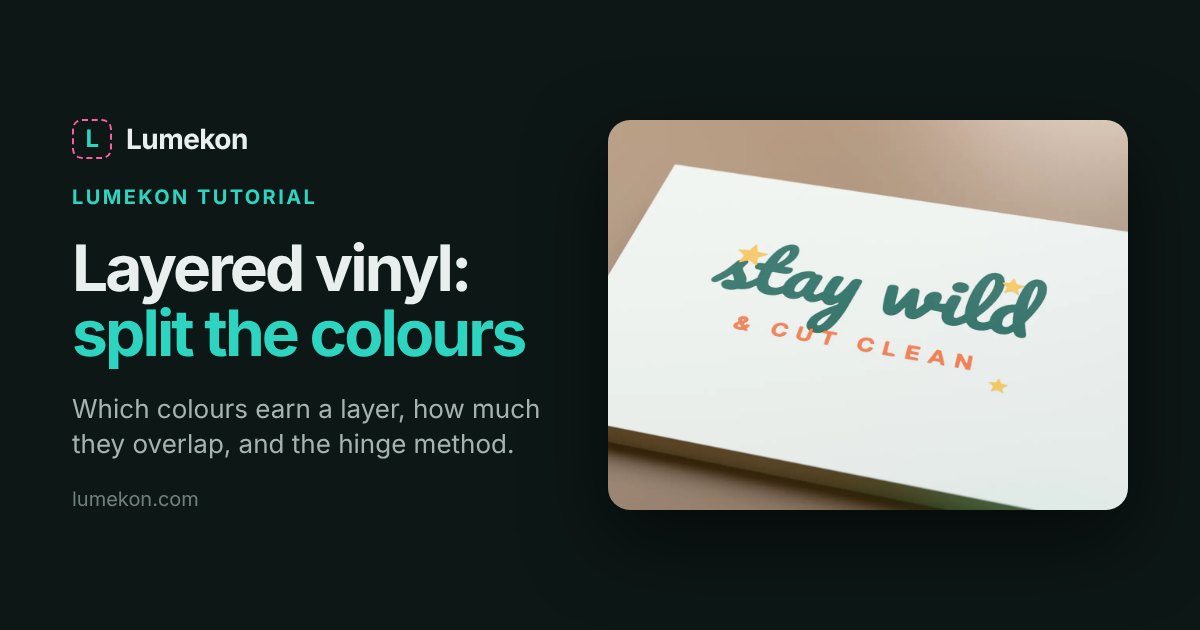
Layered vinyl looks like screen printing: each colour is its own piece of vinyl, cut separately and stacked on the surface. The result is durable and crisp, but only if the design is split into layers that line up. This guide covers how to separate the colours, how much the layers should overlap, and how to apply them without a single shifted letter.
How many layers do you actually need?
Every colour is a separate cut, weed and application. A design with eight colours means eight sheets of vinyl and eight chances to misalign. Before anything else, decide which colours earn a layer:
- Background colour: if the surface is already white or wood, you do not cut that colour. Drop it.
- Shadows and anti-aliasing: a PNG often contains a thin halo colour between the art and the background. It is not part of the design. Merge it away.
- Near-duplicates: two greens that differ by a few percent read as one green in vinyl. Merge them.
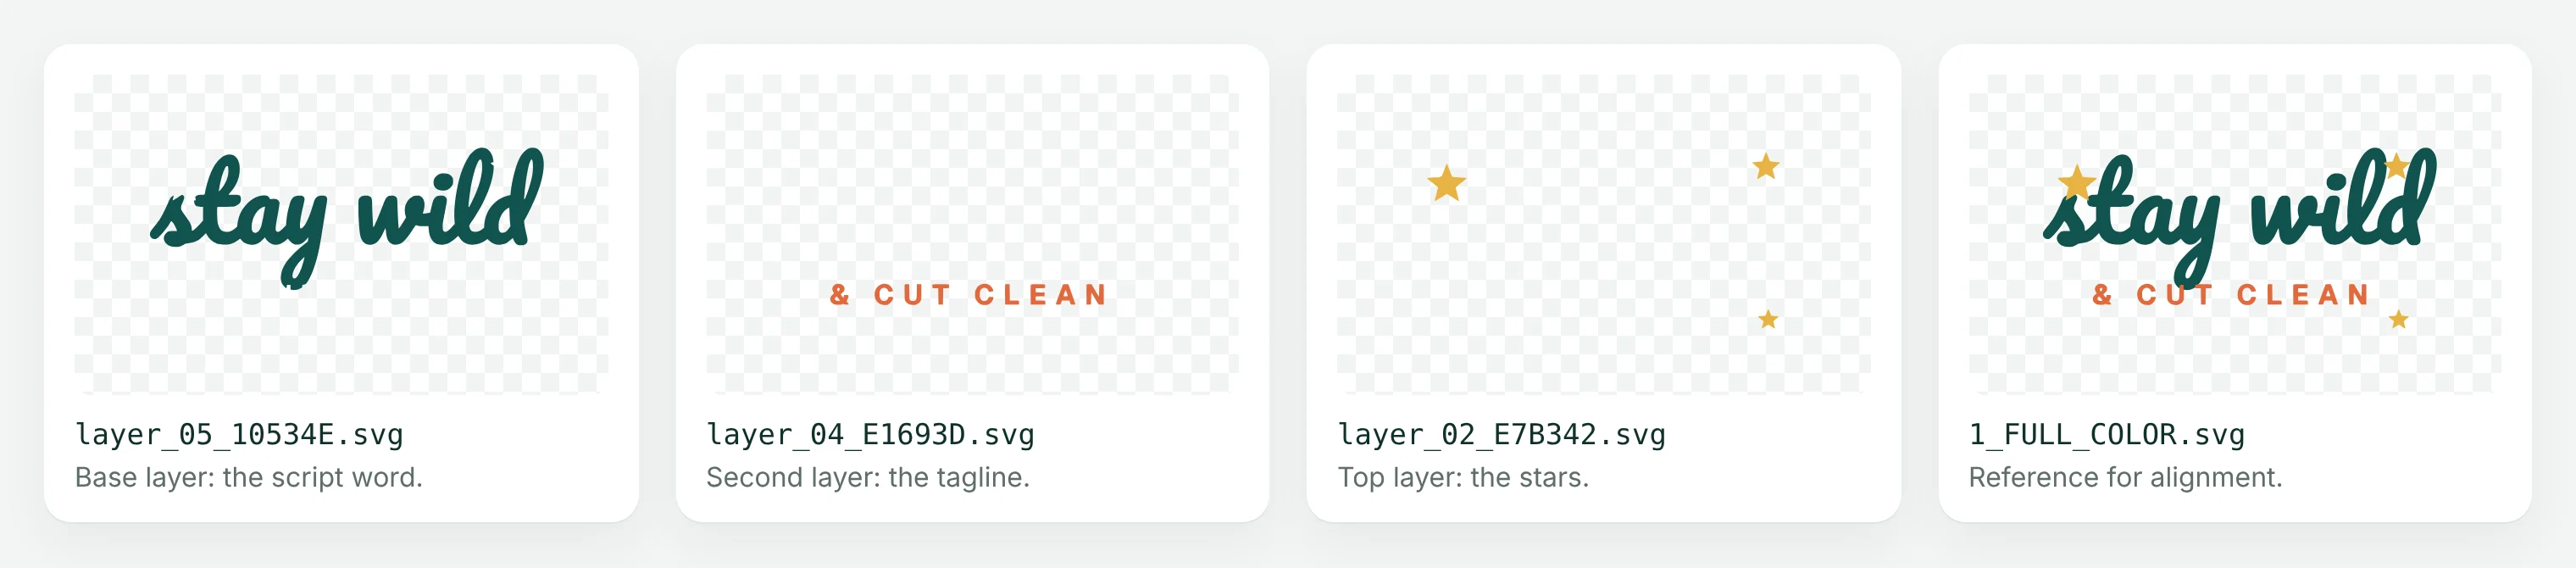
For the “stay wild” decal in the renders, the trace found five colours: the teal script, the orange tagline, the gold stars, a near-white background and a 1% grey-teal edge colour. Only three are real layers. The palette in a Lumekon job shows each colour with its share of the image, so tiny layers are easy to spot; raise Merge Threshold or untick them and recalculate.
Overlap: why the layers should not just touch
When two colours meet edge to edge on screen, cutting them edge to edge in vinyl leaves hairline gaps: the blade has some tolerance and each sheet stretches a little when you weed and transfer it. The fix is trapping, the same trick printers use: the lower layer extends slightly under the upper one.
Lumekon builds a small trap (0.15 mm by default) into the layers it exports, so the colours overlap where they meet and you do not see the surface through the seams. If you prepare layers by hand, offset the lower layer outward by 0.1–0.3 mm along shared edges.
Order matters for trapping: the base layer goes down first and the smallest details go on top. In the example, teal is the base, the orange tagline sits next, and the gold stars go on last.
Step 1: Export the layers
Upload the PNG to the converter and clean up the palette as above. Download 1_FULL_COLOR.svg. Inside, each colour is its own group, named after its hex value, all on the same canvas. That shared canvas is what keeps the layers aligned later.
For laser or plotter software that prefers DXF, the layered DXF puts each colour on its own named layer.
Step 2: Cut each colour
In Cricut Design Space, upload the SVG; each colour group becomes its own layer and is sent to its own mat. In Silhouette Studio, open the SVG and use the cut-by-colour option in the Send panel so each colour is a separate pass.
Two habits save a lot of frustration:
- Do not move the layers on the canvas. If Design Space moves items around on the mats, use the same position on every mat, or add a small registration square to every layer (see below).
- Cut a weed border. A rectangle around each layer makes weeding and lining up much easier.
Step 3: Weed
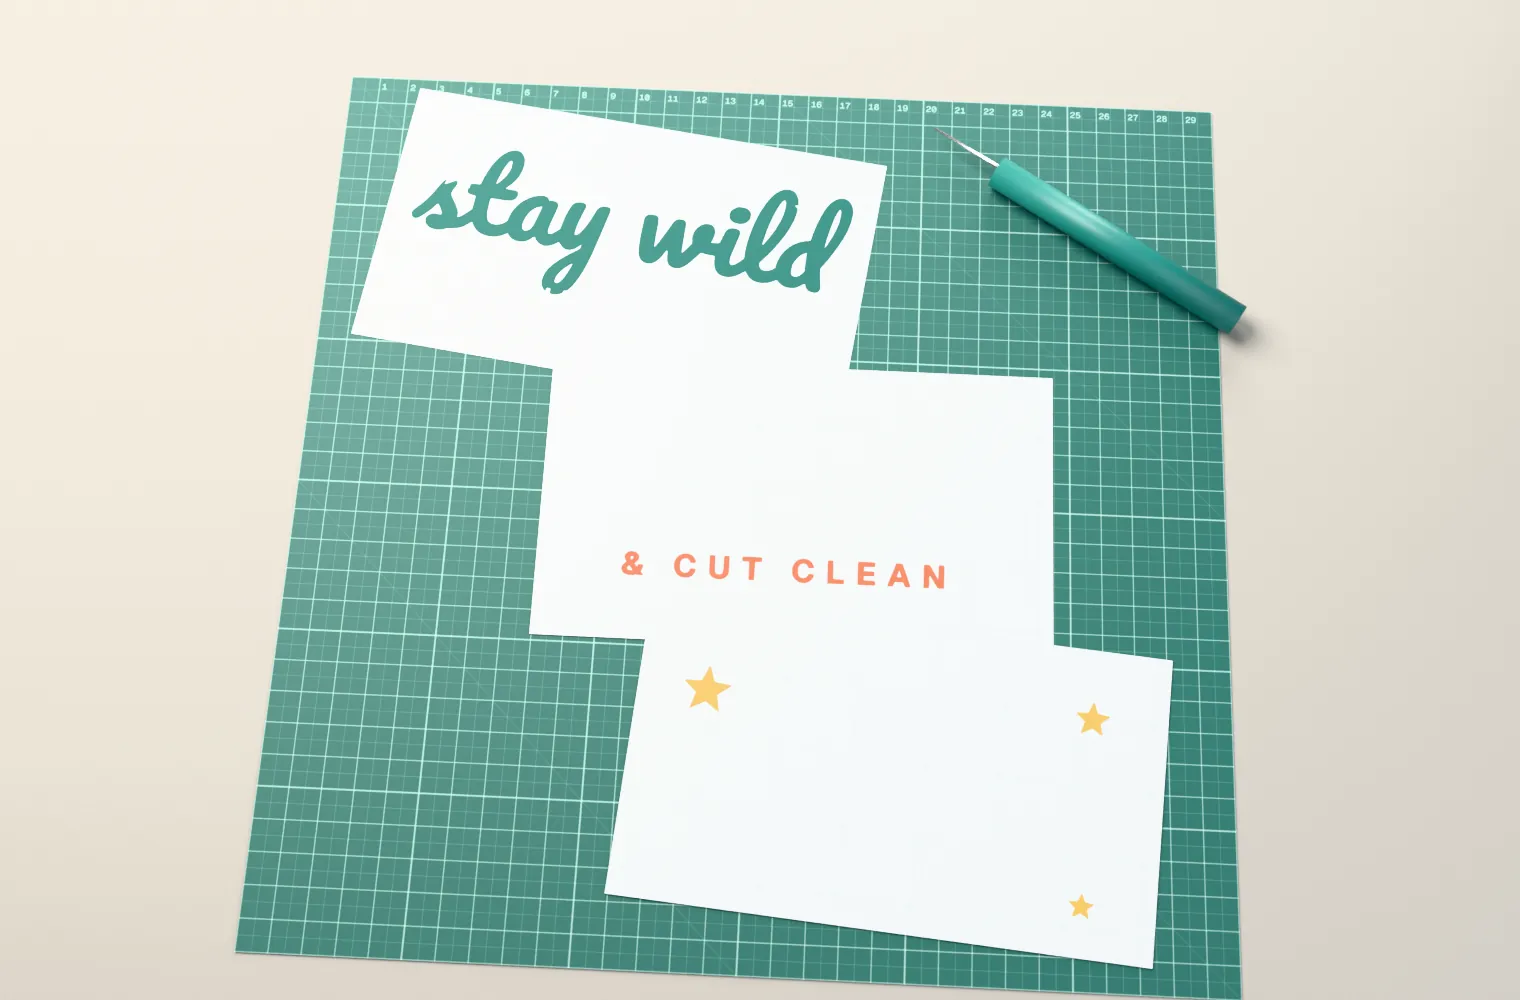
Peel away the excess vinyl and use a weeding hook to lift the counters (the inside of letters like a, d, o). Weed the tagline carefully: small sans-serif letters are where a missed piece is most visible. If a letter lifts off with the waste, press it back down before it folds.
Step 4: Apply the layers in order
The hinge method keeps every layer aligned to the first one:
- Put transfer tape on the top layer (the stars) and burnish it.
- Peel the liner off the next layer down and lay a piece of parchment over most of it, leaving a strip exposed.
- Line up the stars over the tagline, press down on the exposed strip, then slide the parchment out and burnish. The tape now carries both layers.
- Repeat with the base layer. When the tape holds the whole stack, apply it to the surface in one go.
Working top-down means you only ever line up two layers at a time, and you can see through the tape while you do it. The alternative, applying the base layer to the surface and adding layers on top, works too, but each layer needs its own transfer tape.
Registration marks
If your machine software moves layers around on the mat, add a small square or crosshair at the same position on every layer before you cut. It gets cut in every colour, so you line up squares instead of artwork. Remove the marks after the stack is aligned.
Troubleshooting
- White slivers between colours: not enough overlap. Increase the trap, or offset the lower layer by another 0.1 mm.
- One layer slightly too big: the vinyl stretched while weeding. Weed slowly, and keep the layer on its liner until transfer.
- Tiny specks of colour: islands smaller than the blade can weed. Merge colours or increase the minimum island size before export.
- The blade drags through small letters: the cut file has too many nodes. Check it in the SVG validator.
Printing instead of layering? The print-then-cut sticker guide uses the same upload with the backing file instead of the colour layers.