Print Then Cut Stickers from a PNG: Cricut and Silhouette Guide
Turn a PNG into print-then-cut stickers with a clean white border: artwork and backing files, Flatten in Design Space, printer settings and calibration.
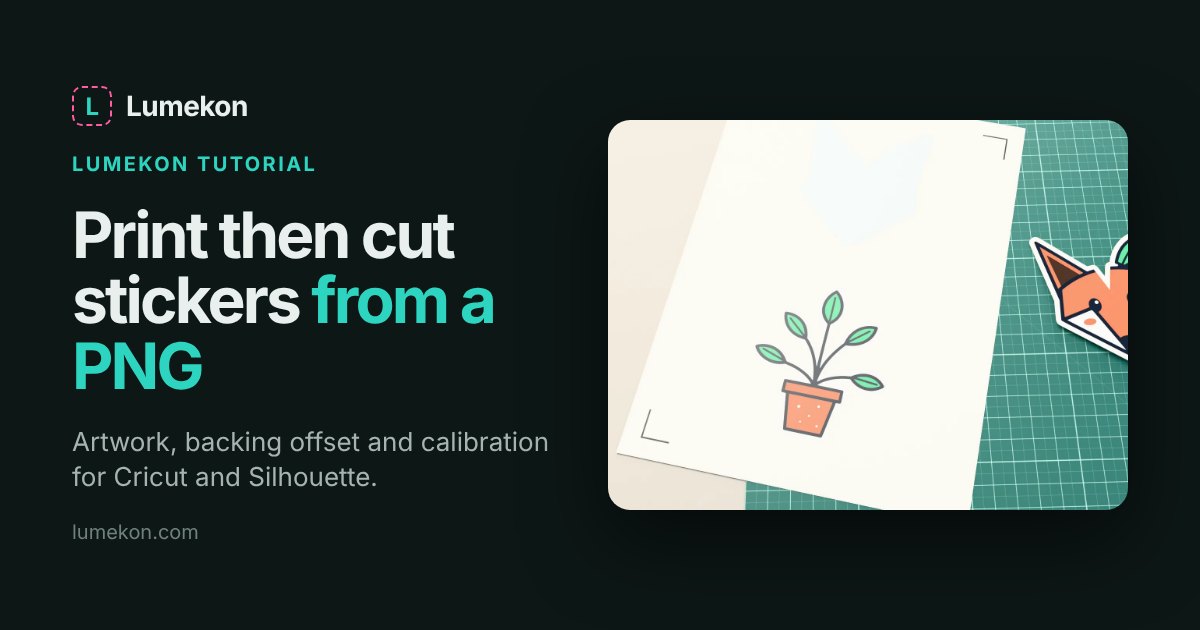
You have a PNG: a fox, a plant, a logo for a client's stickers. You want glossy die-cut stickers with a clean white border, and you want your Cricut or Silhouette to cut exactly around the print, not 2 mm to the left of it. This guide walks through the whole print-then-cut workflow, from the raster file to a sheet you can peel.
What a print-then-cut file actually needs
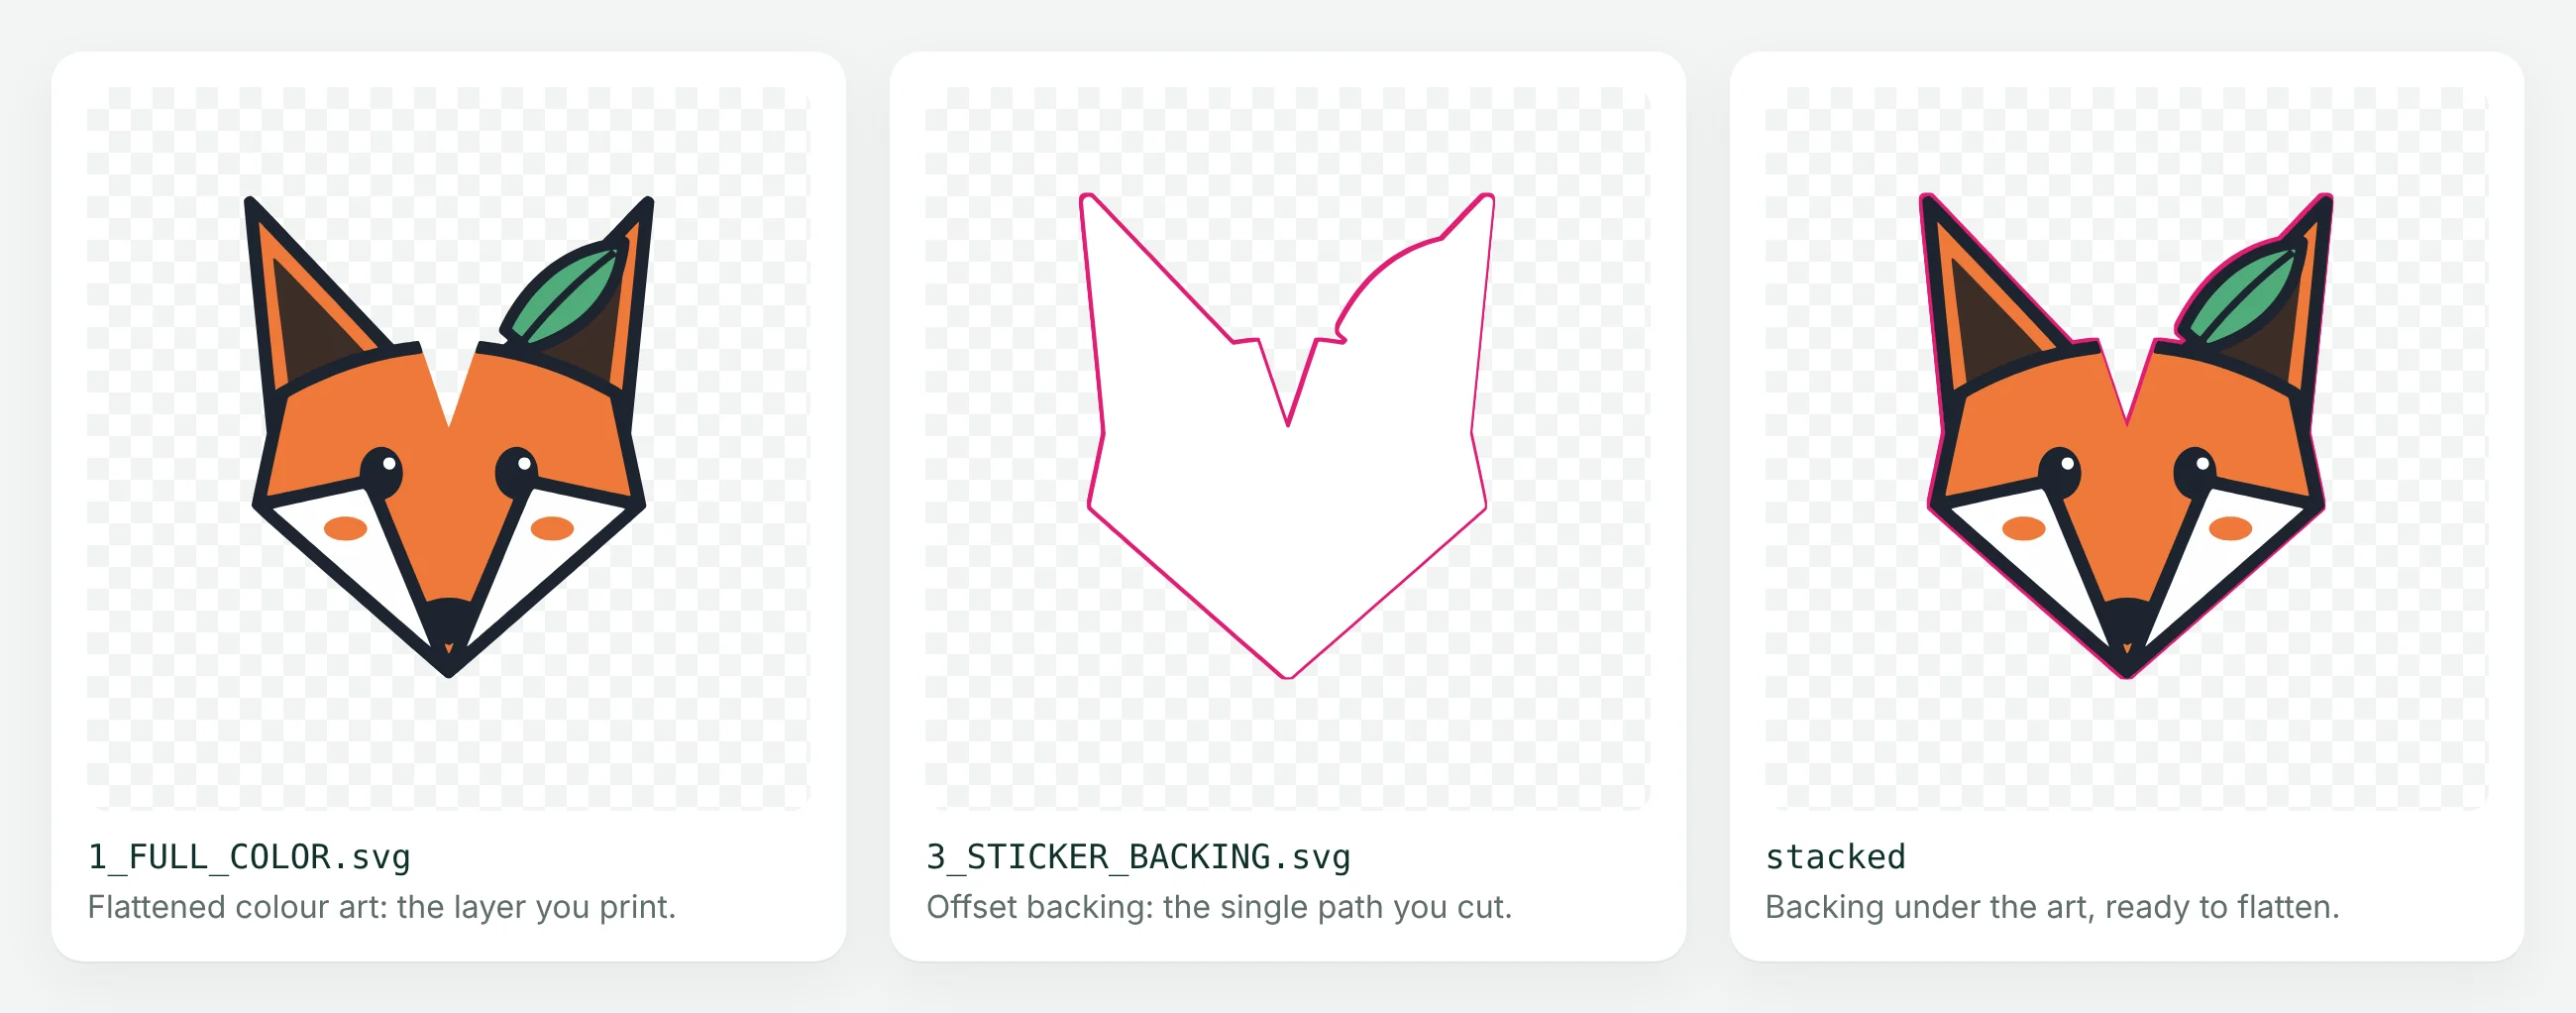
A sticker is two things stacked on top of each other: the artwork that the printer puts on paper, and a cut path that the blade follows. The cut path is usually not the edge of the art. It is an offset: a smooth outline a few millimetres outside the art, which gives you the white border and hides small registration errors.
So from one PNG you need:
- Flat colour artwork with a transparent background, so nothing prints outside the shape.
- One closed backing path around the whole design. Not one path per colour, not the hairline outline of every detail, just one outer contour.
- Both aligned to the same coordinates, so when you stack them the art sits centred on the backing.
Step 1: Get the artwork and backing from the PNG
Upload the PNG to the converter. Lumekon removes the background, reduces the image to a small palette of flat colours and traces each colour as closed vector shapes. With the default sticker preset it also builds a backing shape about 3 mm outside the art, with rounded corners and inner gaps closed so the blade never dives into a narrow notch between the ears.
From the downloads you need two files:
1_FULL_COLOR.svg: the flat colour artwork, one group per colour.3_STICKER_BACKING.svg: the single offset shape that becomes the cut line.
Check the palette before you download. If the trace picked up a faint shadow or anti-aliasing as its own colour, raise Merge Threshold and recalculate. Fewer colours print exactly the same and keep the file light for Design Space.
Step 2: Build the sticker in Cricut Design Space
- Upload both SVGs and insert them onto the canvas. They share the same size and origin, so select both and use Align → Center to stack them.
- Give the backing a white fill and send it to the back, behind the colour art.
- Select the art and the backing together and click Flatten. Flatten turns everything into one printable image and keeps only the outermost outline as the cut path, which is exactly the backing.
- Duplicate the flattened sticker to fill the sheet. Leave a few millimetres between stickers.
Keep the design within the print-then-cut area. On the Explore and Maker machines with letter-size paper that is 9.25 × 6.75 in (about 23.5 × 17 cm). Design Space adds bleed around each image by default, which prints a little extra colour past the edge so a tiny offset does not leave a white sliver. Leave bleed on.
Step 3: Print the sheet
Click Make It, then Send to Printer. In the print dialog:
- Turn on Use System Dialog and pick the best quality setting and the right paper type in your printer driver.
- Make sure the printer does not scale the page. “Fit to page” moves the registration marks and the cut will be off.
- Print and cut in the same Design Space session. Reopening the project in a different browser or app can shift the cut.
Sticker paper with a matte finish is the easiest for the sensor. Glossy and holographic sheets can reflect too much light for the machine to find the black registration rectangle. If the scan fails, try a matte sheet or turn off the lamp above the machine.
Step 4: Cut
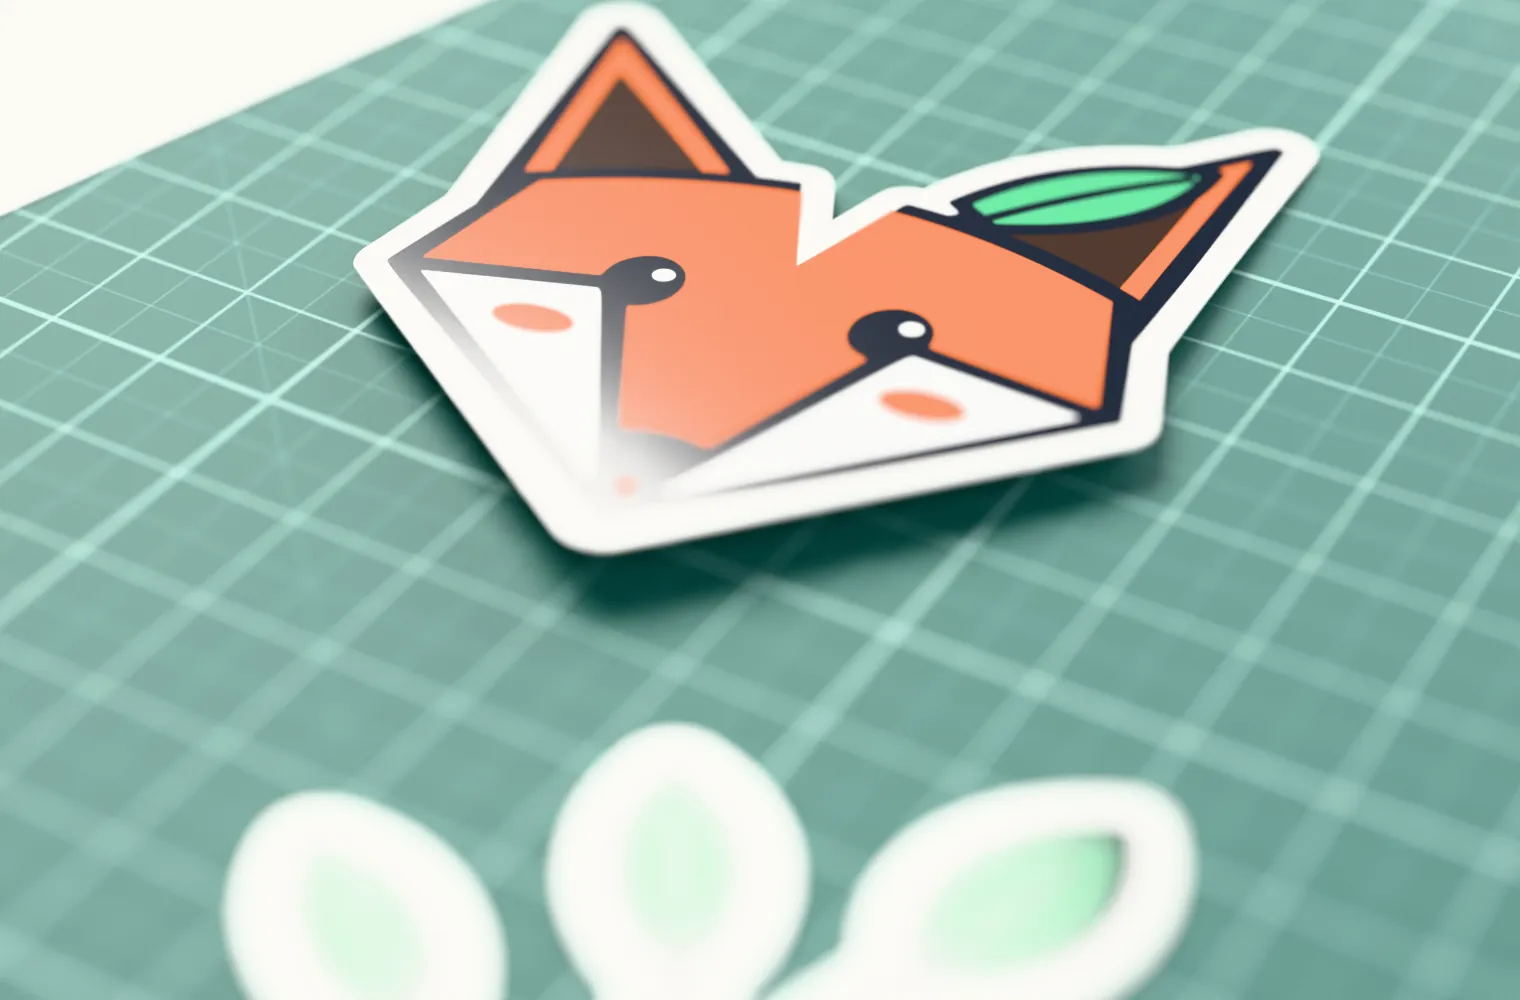
Put the printed sheet in the top-left corner of a LightGrip mat, load it and let the machine scan the registration marks. Choose a sticker-paper material setting and do a kiss cut: through the sticker layer, not through the liner. If the first cut goes through the backing, lower the pressure setting one step.
If the cut is off
A cut that is consistently shifted the same way on every sticker is a calibration problem, not a file problem. Run the Print Then Cut calibration from the machine settings in Design Space: print the calibration sheet in black only, on plain white copy paper, at full scale, then follow the prompts and pick the lines the blade cut closest to.
Other causes worth ruling out:
- Strong light on the mat: direct sun or a desk lamp can confuse the sensor.
- Scaled printing: check the driver did not apply “fit to page” or borderless mode.
- Curled paper: a sheet that lifts off the mat cuts in the wrong place even with perfect marks.
- A cut path that follows every detail: if you skipped Flatten or used the detailed cut file as the outline, the blade traces each internal shape. Use the backing as the only cut path.
Silhouette Studio version
The same two files work in Silhouette Studio. Open the SVGs, stack them with Align, set the colour art to No Cut and the backing to Cut. Turn on registration marks in the Page Setup panel before you print. You can move the left, top and right insets to gain space, but leave the bottom inset where it is. Print, load the sheet without moving it on the mat, and let the machine read the marks.
A quick checklist
- One closed backing path per sticker, about 3 mm outside the art.
- Art and backing aligned, then flattened (Cricut) or set to cut/no-cut (Silhouette).
- Bleed on, printer scaling off, best print quality.
- Matte sticker paper, LightGrip mat, sheet in the corner.
- Calibrate once if the cut is shifted.
If a file still behaves strangely, run it through the free SVG validator: it flags open paths, stray strokes and duplicate shapes that make the cut line wander. For layered stickers made from vinyl instead of printed paper, see how to split a design into colour layers.